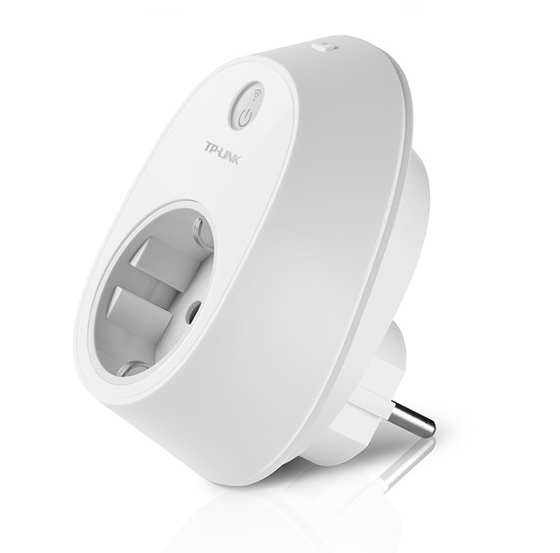
First thing you should do is to reserve an IP address for your smart plug on your router. For this, you'll need plug's MAC address, which is written on the backside of the device (alternatively you can figure out the MAC address inside the companion Kasa application).
Then you can use tplink-smartplug.py to turn on/off the plug simply like so:
Code: Select all
python ./tplink-smartplug.py -t <IP> -c onCode: Select all
Sent:      {"system":{"set_relay_state":{"state":1}}}
Received: {"system":{"set_relay_state":{"err_code":0}}}Code: Select all
python ./tplink-smartplug.py -t <IP> -j '{"emeter":{"get_realtime":{}}}'Code: Select all
Sent:      {"emeter":{"get_realtime":{}}}
Received:  {"emeter":{"get_realtime":{"current":0.041124,"voltage":237.504900,"power":9.341753,"total":0.001000,"err_code":0}}}
The final step is to integrate the plug with Domoticz (in my case running on a Raspberry Pi). For this you will need to copy the control script into '~/domoticz/scripts/' and make it executable. This can be achieved via:
Code: Select all
cp ./tplink-smartplug.py ~/domoticz/scripts/
sudo chmod +x ~/domoticz/scripts/tplink-smartplug.py
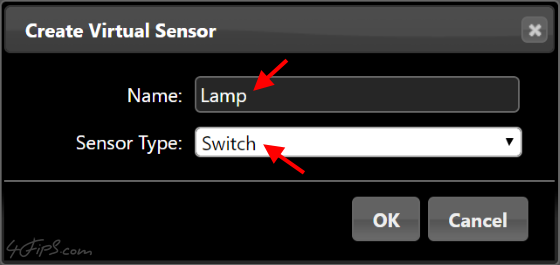
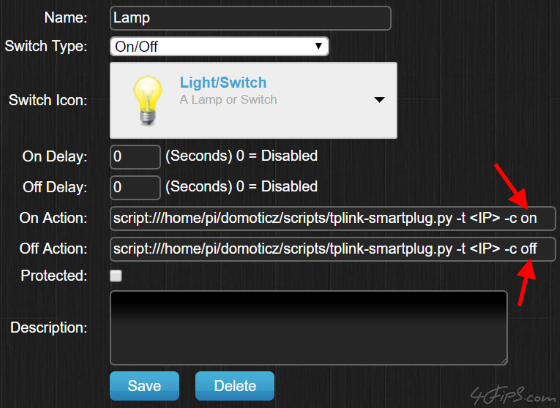
Name the newly created sensor, and select "Switch" as its type. After that you will need to edit the switch and add the on/off actions:
Code: Select all
script:///home/pi/domoticz/scripts/tplink-smartplug.py -t <IP> -c on
script:///home/pi/domoticz/scripts/tplink-smartplug.py -t <IP> -c off
That's it! Your switch is now ready.
Related articles:
Home automation with Domoticz, ESP8266 and BME280
